Your Kitchen, Your Candy Shop: A No-Fuss Guide to Making Milk-Based Sweets at Home

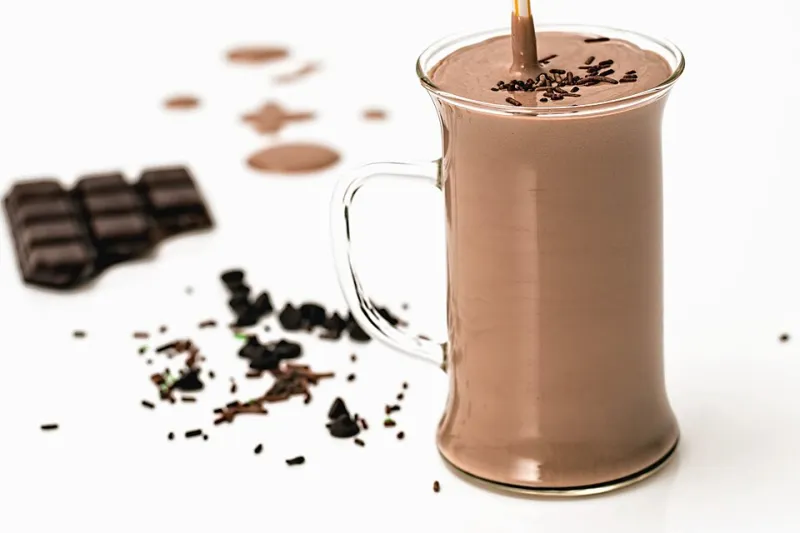
Photo: rovingI, CC BY 2.0, via Wikimedia Commons
There's something almost magical about turning a pot of cream, sugar, and butter into something people lose their minds over. Homemade candy has that effect. You hand someone a piece of fudge you made yourself and suddenly you're the most impressive person at the holiday party. The secret? It's not that hard — especially when you start with milk-based recipes, which tend to be more forgiving and far more satisfying than their reputation suggests.
This guide is for beginners. You don't need a marble slab, a copper pot, or any equipment fancier than a candy thermometer and a saucepan. Let's get into it.
Why Milk-Based Candy Is the Best Place to Start
Milk and cream do a lot of heavy lifting in confectionery. The fat content in dairy slows down crystallization, which means you have a little more room for error than with, say, hard candies or pulled sugar. The proteins in milk also contribute to that signature creamy texture and subtle richness that makes fudge feel like fudge and caramel feel like something worth savoring slowly.
Milk-based candies also tend to be more temperature-stable — they hold their shape better at room temperature, which matters a lot when you're packaging them as gifts or bringing them to a potluck in July.
The three recipes we're covering here — classic fudge, creamy caramels, and a simple butter toffee — each teach you a slightly different skill. Master these and you'll have a solid foundation for almost everything else in the candy world.
The One Tool You Actually Need
Before we get into recipes, let's talk equipment. You can skip the fancy stuff, but do not skip the candy thermometer. Candy making is all about temperature, and eyeballing it is how you end up with a pan of grainy fudge or caramel that never sets. A basic digital probe thermometer works great and costs around $15. Clip-on analog versions are fine too.
Beyond that: a heavy-bottomed saucepan (3-quart is a good size), a silicone spatula, a 9x9 baking pan lined with parchment, and patience. That's genuinely it.
Recipe 1: Classic Creamy Fudge
Fudge is the gateway drug of homemade candy, and for good reason. It's rich, deeply chocolatey, and the process teaches you the fundamentals of sugar work without being too punishing when things go slightly sideways.
What you need:
- 2 cups granulated sugar
- ¾ cup whole milk
- ¼ cup heavy cream
- 3 tbsp unsalted butter
- 2 oz unsweetened chocolate, chopped
- 1 tsp vanilla extract
- Pinch of salt
How to make it: Combine the sugar, milk, cream, and butter in your saucepan over medium heat, stirring until the sugar dissolves. Add the chocolate and stir to melt. Stop stirring once the mixture comes to a boil and clip your thermometer to the side of the pan. Cook until you hit 238°F — the soft-ball stage. Remove from heat, add vanilla and salt, and let it cool without stirring to around 110°F. Then beat it vigorously with a wooden spoon or a hand mixer on low until it thickens and loses its gloss. Pour into your prepared pan and let it set at room temperature for at least two hours.
Key tip: The cooling-before-beating step is non-negotiable. Beat it too early and you'll get a grainy mess. Wait for it.
Recipe 2: Soft Creamy Caramels
Good caramels are slow, steady, and absolutely worth the attention they require. These are the soft, chewy kind — the type that stick to the paper just a little and taste like concentrated butter and brown sugar.
What you need:
- 1 cup heavy cream
- 1 cup whole milk
- 2 cups granulated sugar
- ½ cup light corn syrup
- 4 tbsp unsalted butter
- 1 tsp vanilla
- 1 tsp flaky sea salt (optional but highly recommended)
How to make it: Warm the cream and milk together in a small saucepan and keep it on low heat while you work on the sugar. In your main saucepan, combine sugar and corn syrup over medium-high heat, stirring until dissolved. Cook without stirring until the mixture reaches 320°F and turns a light amber. Slowly pour in the warm cream mixture — it will bubble aggressively, so be careful. Stir in the butter. Continue cooking, stirring frequently now, until you reach 245°F (firm-ball stage for a chewy caramel, 240°F for softer). Pour into your pan, sprinkle with sea salt if using, and let cool completely before cutting and wrapping in wax paper squares.
Key tip: Add the cream warm, not cold. The temperature shock from cold cream can cause the sugar to seize or splatter dangerously.
Recipe 3: Simple Butter Toffee
Toffee is the crunchier, more caramelized cousin of caramel and it comes together faster than you'd think. This version is straightforward and endlessly customizable — press crushed almonds or a sprinkle of flaky salt into the top before it sets.
What you need:
- 1 cup unsalted butter
- 1 cup granulated sugar
- 2 tbsp water
- 1 tbsp light corn syrup
- ½ tsp vanilla
How to make it: Melt butter in a heavy saucepan over medium heat. Add sugar, water, and corn syrup, stirring to combine. Cook, stirring constantly, until the mixture reaches 300°F — the hard-crack stage. Stir in vanilla, pour onto a parchment-lined sheet pan, and spread thin with a spatula. Let cool completely until brittle, then break into pieces.
Troubleshooting Common Mistakes
Grainy fudge: You either stirred while it was still too hot, or sugar crystals got into the pot from the sides. Brush the sides down with a wet pastry brush while cooking to prevent crystals.
Caramel that won't set: You didn't cook it to the right temperature. Trust the thermometer, not the color or time.
Toffee that separates or looks greasy: Your heat was too high or you didn't stir consistently enough. Keep the heat at medium and stay with it.
Fudge that never hardens: It didn't reach 238°F. Next time, cook a minute or two longer and confirm your thermometer is calibrated.
Gifting Your Homemade Candy
One of the best things about milk-based candy is how beautifully it packages up. Cut caramels and fudge into uniform pieces, stack them in a small kraft paper box lined with parchment, and tie it with twine. For toffee, a clear cellophane bag with a ribbon looks effortlessly charming. Add a hand-written label with the flavor and date made — homemade candy typically keeps for 1-2 weeks at room temperature, or up to a month refrigerated.
A batch of caramels wrapped in wax paper squares and tucked into a mason jar is genuinely one of the most thoughtful gifts you can give around the holidays, and people will absolutely ask you for the recipe.
The Real Reward
Home candy making has this wonderful feedback loop: the first time you pull a perfect batch of fudge, you immediately want to try something harder. Before long you're experimenting with flavor additions — espresso in the caramels, a splash of bourbon in the toffee, orange zest stirred into the fudge — and suddenly you have a whole repertoire.
Start simple. Nail the basics. Then make it your own. That's how every great candy maker got started — at a stove, with a thermometer, and a serious craving for something creamy and sweet.